
LEDSMART+ ™ Switch
Setup Functions and Product Information
Setup Functions and Product Information
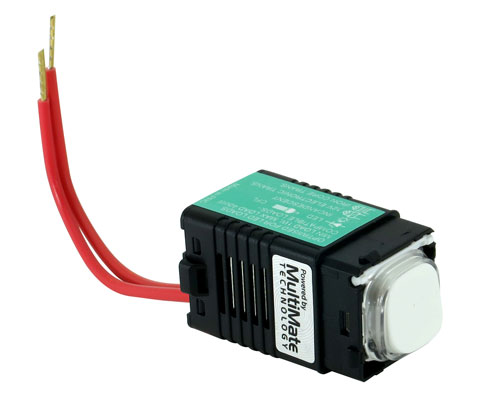
LEDSMART+ PUSH BUTTON SWITCH
If the dimmer has been powered up for LESS THAN 15 MINUTES see A1 below.
If the dimmer has been powered up for MORE THAN 15 MINUTES see A2 below.
Once in Setup Mode, options are selected by a series of ‘clicks’ of the dimmer push button. Each ‘click’ should be within 1 second of the previous click.
Step 1
Press and hold the button for 10 seconds
Note: Connected lights will dim up or down, this is normal
Step 2
The white LED Indicators will blink ON/OFF twice per second. This indicates that the switch is now in Setup Mode
Note: If more than one LEDsmart+ device is connected in parallel, all these devices will now enter setup mode. The blink ON/OFF will also be see on all other LEDsmart+ devices connected in parallel
In the unlikely event that other LEDsmart+ devices connected in parallel do not enter setup, exit and try again.
Step 3
The switch is ready for the settings to be adjusted as required. Go to the relevant setup function instructions
In the unlikely event that other LEDsmart+ devices connected in parallel do not enter setup, exit and try again.
Step 3
The switch is ready for the settings to be adjusted as required. Go to the relevant setup function instructions
The maximum brightness level provided by the switch can be set to suit customer requirements.
Note that when lamps are near to full brightness, it is difficult to see changes in dimming level. Therefore, when setting up maximum brightness, it is recommended that the lamp is slowly dimmed up to a point where no further changes in brightness can be seen, and the maximum level set at this point.
Step 1
Enter into the switch Setup Mode – See PART A
Step 2
Click the push button 3 times
Step 3
LED will blink 3 times
Note: To cancel/exit do nothing for 30 seconds
Step 4
Press and hold the switch button to adjust to required maximum brightness level, releasing the button when the required level is reached
Note: The direction of adjustment will alternate with each press
Note: To cancel/exit do nothing for 30 seconds
Step 5
Click once to save & exit
Note: If there are multiple LEDsmart+ switches connected in parallel, the maximum brightness levels only needs to be set in one device. The setting is automatically saved to all other switches connected in parallel
In the unlikely event that other LEDsmart+ devices connected in parallel do not enter setup, exit and try again.
The switch includes a ‘soft start’ option. This soft start switches the lighting on over a half second period. This can increase lamp life in some cases and can also produce a better switch on effect for the user.
By default, soft start is disabled. To enable soft start, follow the steps below.
Step 1
Enter into the switch Setup Mode – See PART A
Step 2
Click the push button 4 times
Step 3
LED will blink 4 times
Note: To cancel/exit do nothing for 30 seconds
Note: If more than one dimmer is connected to the same load, all dimmers connected to this load will now blink 4 times
Step 4
To enable the soft start feature
Push and hold the push button until the lamps(s) turn ON
To disable the soft start feature
Push and hold the push button until the lamps(s) turn OFF (default)
Note: To cancel/exit do nothing for 30 seconds
Step 5
Click once to save & exit
In the unlikely event that other LEDsmart+ devices connected in parallel do not enter setup, exit and try again.
When the switch is off, the white LED indicators in the switch can be set to glow or turn off.
By Default, the white LED indicators are set to glow when the switch is turned off.
To set the LED indicators to turn off when the switch is off, follow the steps below.
Step 1
Enter into the switch Setup Mode – See PART A
Step 2
Click the push button 5 times
Step 3
LED will blink 5 times
Note: To cancel/exit do nothing for 30 seconds
Step 4
To set Indicator to glow on when switch is off
Push the button until the lamp(s) turns ON (default)
To set Indicator to turn off when switch is off
Push the button until the lamp(s) turns OFF
Note: To cancel/exit do nothing for 30 seconds
Step 5
Click once to save & exit
Step 1
Enter into the dimmer Setup Mode – See PART A
Step 2
Click the push button 8 times
Step 3
LED will blink 8 times
a. If the MultiMate™ function is currently Disabled, lamp(s) connected to the dimmer will now turn OFF
b. If the MultiMate™ function is currently Enabled, lamps(s) connected to the dimmer will now turn ON
Note: To cancel/exit do nothing for 30 seconds
Step 4
To Enable MultiMate™ (Default) push-and-hold the button until the lamp(s) turns ON
To Disable MultiMate™ a push-and-hold the button until the lamp(s) turns OFF
Note: To cancel/exit do nothing for 30 seconds
Step 5
Click once to save & exit
Step 1
Enter into the dimmer Setup Mode – See PART A
Step 2
Click the push button ten times
Step 3
The dimmer will automatically exit Setup Mode once reset